Creating an online presence feels much simpler when you break the process into small actions. You don’t need expensive tools or complicated software to get started. These step-by-step mini tutorials help you build visibility using clear tasks you can finish in short sessions. Whether you’re a beginner or refreshing an older profile, each item keeps things practical and budget-friendly so you can start right away.
1. Set Up a Clean Personal Homepage
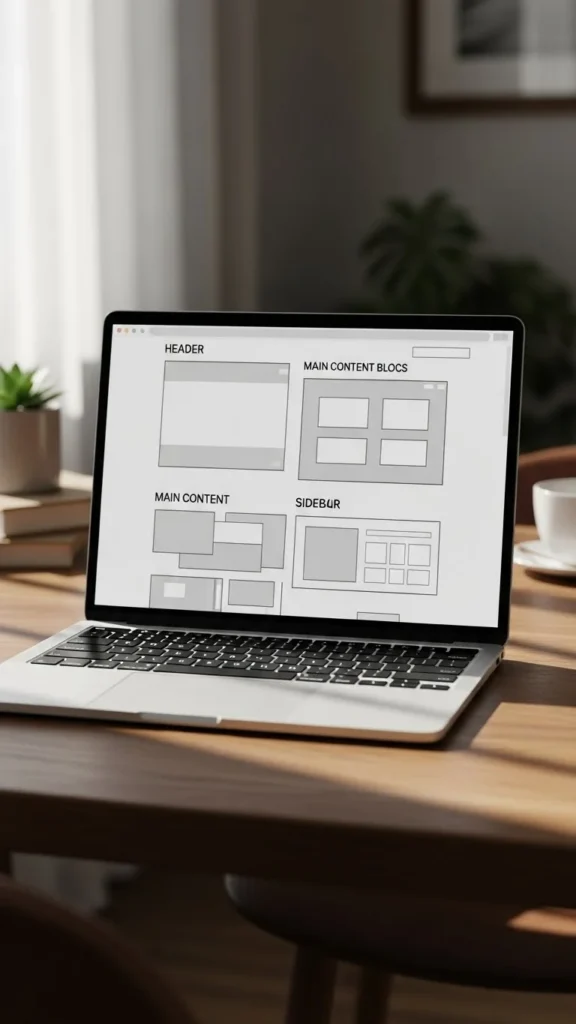
A clean homepage gives people a quick sense of who you are and what you offer. Start with a simple layout. Use a free website builder like Wix or WordPress. Pick a calm template that doesn’t feel crowded. Add one photo of yourself taken near a window for soft lighting. Write a short intro paragraph. Keep it warm and clear. Add two or three sections only—about, services, and contact. Use free icons to guide visitors’ eyes. If you don’t want to spend money on stock photos, use your phone to take simple flat-lays against a plain background. Keep the homepage light so it loads quickly. Focus on clarity instead of fancy effects. A simple foundation makes everything easier once you start sharing your site with others.
2. Create a Consistent Profile Photo

A solid profile photo helps people recognize you instantly. You don’t need a studio. Stand near a window with natural light facing you. Use your phone camera, wipe the lens, and keep the background plain. Wear something simple with solid colors. Ask a friend to hold the camera at eye level so your posture feels natural. Take a few shots and choose the one that feels calm and clear. Crop the image into a square for social platforms. Use the same photo everywhere—your website, Instagram, YouTube, LinkedIn. This helps people connect your name with your face. If you want to edit the photo, use free apps like Snapseed to adjust brightness lightly. Avoid heavy filters so your photo looks real.
3. Write a Short, Clear Bio
A strong bio gives visitors quick context. Keep it short. Start with who you help. Add how you help them. Then share what you enjoy or what you’re working on. Use friendly language. Avoid long storytelling. Break your bio into two small lines so it’s easy to read. If you’re stuck, write a rough draft in a notebook and choose the simplest version of each sentence. Add one personal detail—like your hobby or city—to make your page feel human. Paste the same bio across platforms with small adjustments depending on character limits. This keeps your online identity consistent and easy for people to recognize.
4. Build a Simple Content Folder Structure
Staying organized helps you publish more often without feeling overwhelmed. Create one main folder on your computer labeled “Content.” Inside it, create subfolders such as “Photos,” “Videos,” “Captions,” and “Ideas.” When you shoot new content, drop the files into these folders right away. Use short file names so you can find things quickly. If you want to stay budget-friendly, avoid fancy storage tools and use Google Drive for backup. This keeps your content safe and accessible. Having a simple system helps you move from planning to posting with less stress.
5. Design Three Reusable Brand Templates
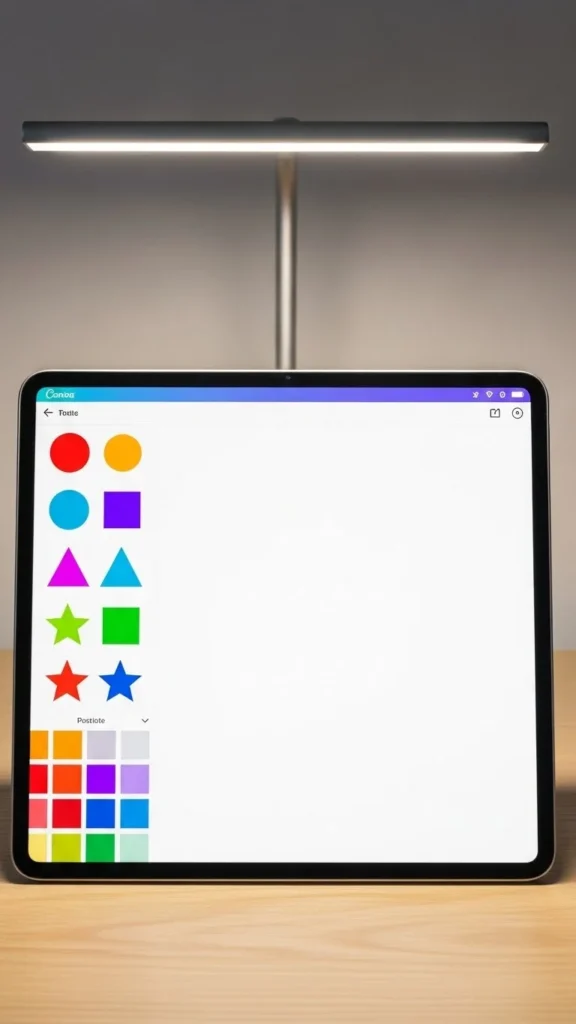
Templates save time and help your posts look consistent. Open Canva and pick a basic layout. Choose two main colors and one accent color that feels calm and fits your style. Make one template for quotes, one for announcements, and one for quick educational tips. Use simple shapes to guide the eye. Save these templates and reuse them each week. You don’t need premium elements—stick with free shapes and photos you take yourself. Reusing templates keeps your feed clean and familiar without extra effort.
6. Record a Quick Introduction Video

Video helps people connect with you faster. Record a short clip where you introduce yourself and what you create. Use natural light by filming near a window. Keep the camera at eye level. If you don’t have a tripod, stack books to raise your phone. Speak slowly and keep your message simple. Aim for 15–30 seconds. Use CapCut to trim the clip and add light adjustments. Post this video on your main platforms. A friendly introduction sets a warm tone for new visitors.
7. Set Up a Weekly Posting Routine
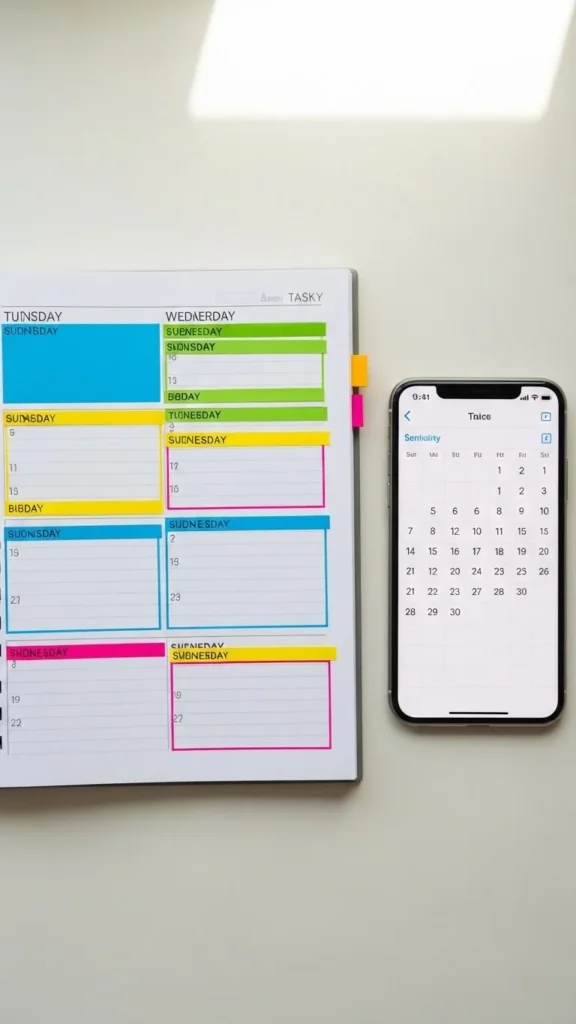
Consistency helps people remember you. Pick three days of the week to post. For example: Monday, Wednesday, and Friday. Choose simple content themes for each day so you don’t waste time thinking. Maybe Monday is educational, Wednesday is behind-the-scenes, and Friday is personal. You don’t need complicated schedules. Write your plan on paper or inside your phone calendar. Stick with your routine for a few weeks and adjust if needed. Small, steady habits help you stay visible.
8. Refresh Your Social Media Banners

Your banner sets the tone for your profile. Open Canva and search for a free banner layout. Choose one that feels simple and leaves lots of space. Add a calm background image—something from your own camera works great. Use shapes or lines to give structure. Keep the design plain so it fits different platforms. If you want, add an icon or pattern instead of text. A clean banner makes your profiles feel more organized without effort.
9. Create a Basic Email Sign-Up Page
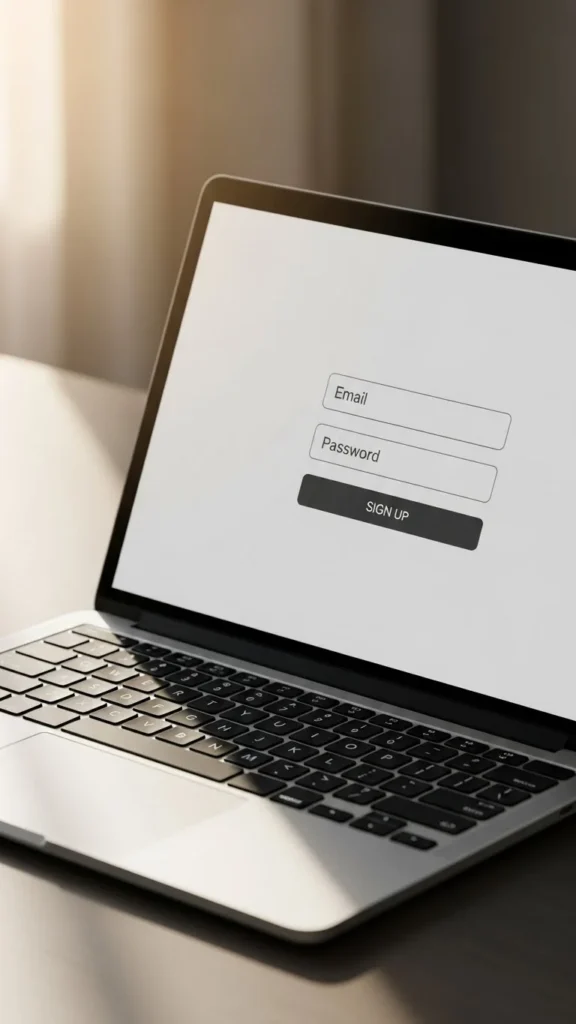
Email helps you reach people directly. You can create a free sign-up page using MailerLite or Mailchimp. Pick a minimal layout. Add a short description of what people will receive. Maybe weekly tips, updates, or helpful notes. Use a single image—something simple like a desk or plant photo. Keep the form to one field: email. This encourages more sign-ups. Share the link on your social profiles. A simple form gets you started without pressure.
10. Build a Mini Portfolio Page

A portfolio shows your style at a glance. Create a new page on your website called “Work” or “Projects.” Upload five to eight examples only. Keep them clean and consistent. Add short descriptions using one or two lines. If you don’t have clients yet, create mock examples using your own ideas and designs. Take clear photos in natural lighting. A small portfolio works well and grows with time.
Conclusion
Building an online presence is easier when you move step by step. You don’t need complex strategies or expensive gear—small habits create steady progress. Try a few tutorials from this list each week and let your routine grow naturally. Over time, your profiles will feel clearer, more organized, and more welcoming for new visitors.